BLE Device Manager Overview
The BLE Device Manager in OvApp provides Bluetooth-based tools for inspecting, diagnosing, and activating OVES devices. It contains two main areas, each designed for a different audience and use case.
Login Flow
Accessing the BLE Device Manager requires two separate logins:
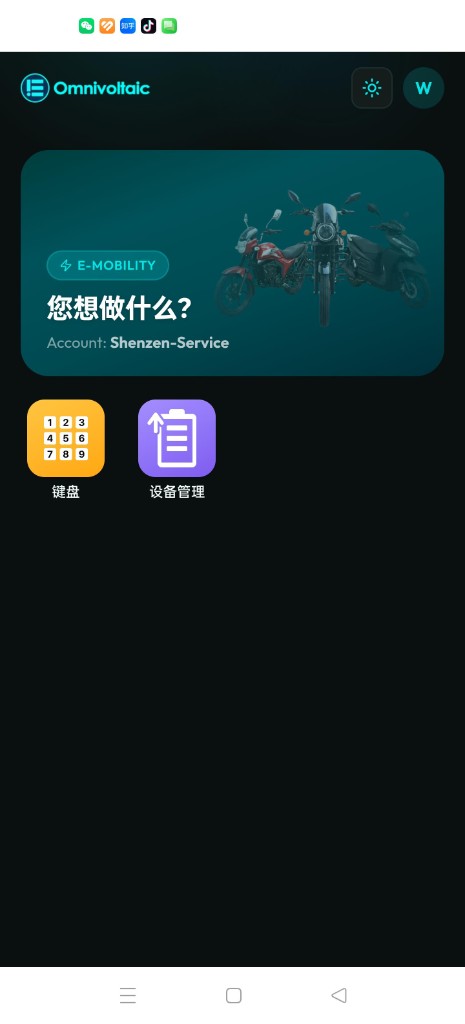
Step 1 — OvApp Login & Applet Selection
Log into OvApp using your credentials (email/password or Microsoft SSO), select your Service Account (SA), and then tap the BLE Device Manager tile from the applet selection grid.
Step 2 — ERM Credentials Login
Once you tap the BLE Device Manager applet, a dedicated login screen is shown. This is separate from your OvApp login and requires your ERM (Energy Resource Management) credentials.
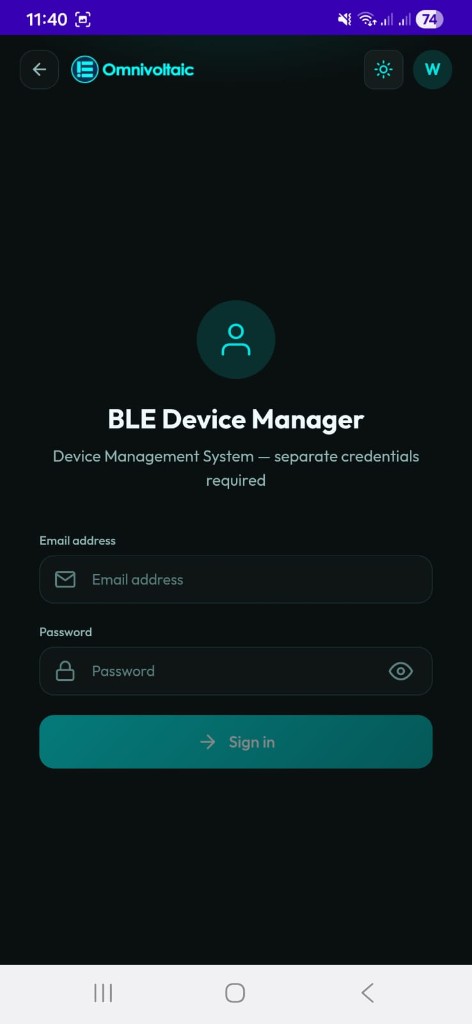
Two separate credential sets
Your OvApp login (Step 1) and your ERM login (Step 2) are independent. You cannot use your OvApp password to access the BLE Device Manager — you must use your ERM account credentials.
After a successful ERM login, you land on the BLE Devices screen and can switch to My Devices via the bottom navigation.
Two Areas
| Area | Tab | Audience | Purpose |
|---|---|---|---|
| BLE Devices | BLE Devices (bottom nav) | Distributors / Technical staff | Full diagnostic and inspection tool — view all device data at a low level |
| My Devices | My Devices (bottom nav) | Distributors / Factory Staff | Streamlined activation tool — activate or reactivate a device quickly |
Shared Connection Flow
Both areas share the same Bluetooth scanning and connection experience:
- Scan — your phone scans for nearby OVES devices via Bluetooth.
- Device list — discovered devices are listed with their name, product image, signal strength (RSSI), and MAC address. List updates are batched to reduce UI lag during scans with many nearby devices.
- Connect — tap a device, search by name, or tap the camera icon to scan its QR code and connect directly.
Note
The QR scan button displays a camera icon in the search bar.
A disconnect toast notification is shown if the connection is lost unexpectedly after connecting.
Once connected, the two areas diverge:
- BLE Devices opens a detailed view with six service tabs (ATT, CMD, STS, DTA, DIA, HB).
- My Devices opens a focused activation screen with code generation options.
When to Use Which
| Scenario | Use |
|---|---|
| Inspect a device's serial numbers, firmware, or identity | BLE Devices |
| Read battery voltage, capacity, energy, or cell diagnostics | BLE Devices |
| Write an activation code or change device configuration | BLE Devices (CMD tab) |
| Send a device heartbeat to the server for remote monitoring | BLE Devices (HB tab) |
| Quickly activate a device with a time-limited or free code | My Devices |
| Re-apply an activation code that failed to write | My Devices (Retrieve Last Code) |
| Generate a days-based, free, or reset code | My Devices |